当你同时需要python 3.7和3.8版本,或者库依赖出现冲突的时候,可以通过conda的env安装多个环境,但这个时候怎么在jupyter中选择不同的环境呢?
简单的做法是每个环境各装一个jupyterlab,但使用的时候切来切去非常难受。
既然jupyter有kernel机制,我们就来稍微研究一下吧。
环境信息
假设你已经装好了conda,通过
1 | conda info |
命令查看环境信息,主要是得到active env location,后面会用到。
<code class="language-bash">active environment : base
active env location : /opt/homebrew/Caskroom/miniforge/base</code>
安装jupyterlab
我们只在base环境安装jupyterlab,使用命令
1 | pip install jupyterlab |
<code class="language-bash">...
Successfully installed jupyterlab-3.4.6 ...</code>
键入
1 | jupyter-lab |
命令即可启动,这时候会在浏览器自动打开http://localhost:8888/lab
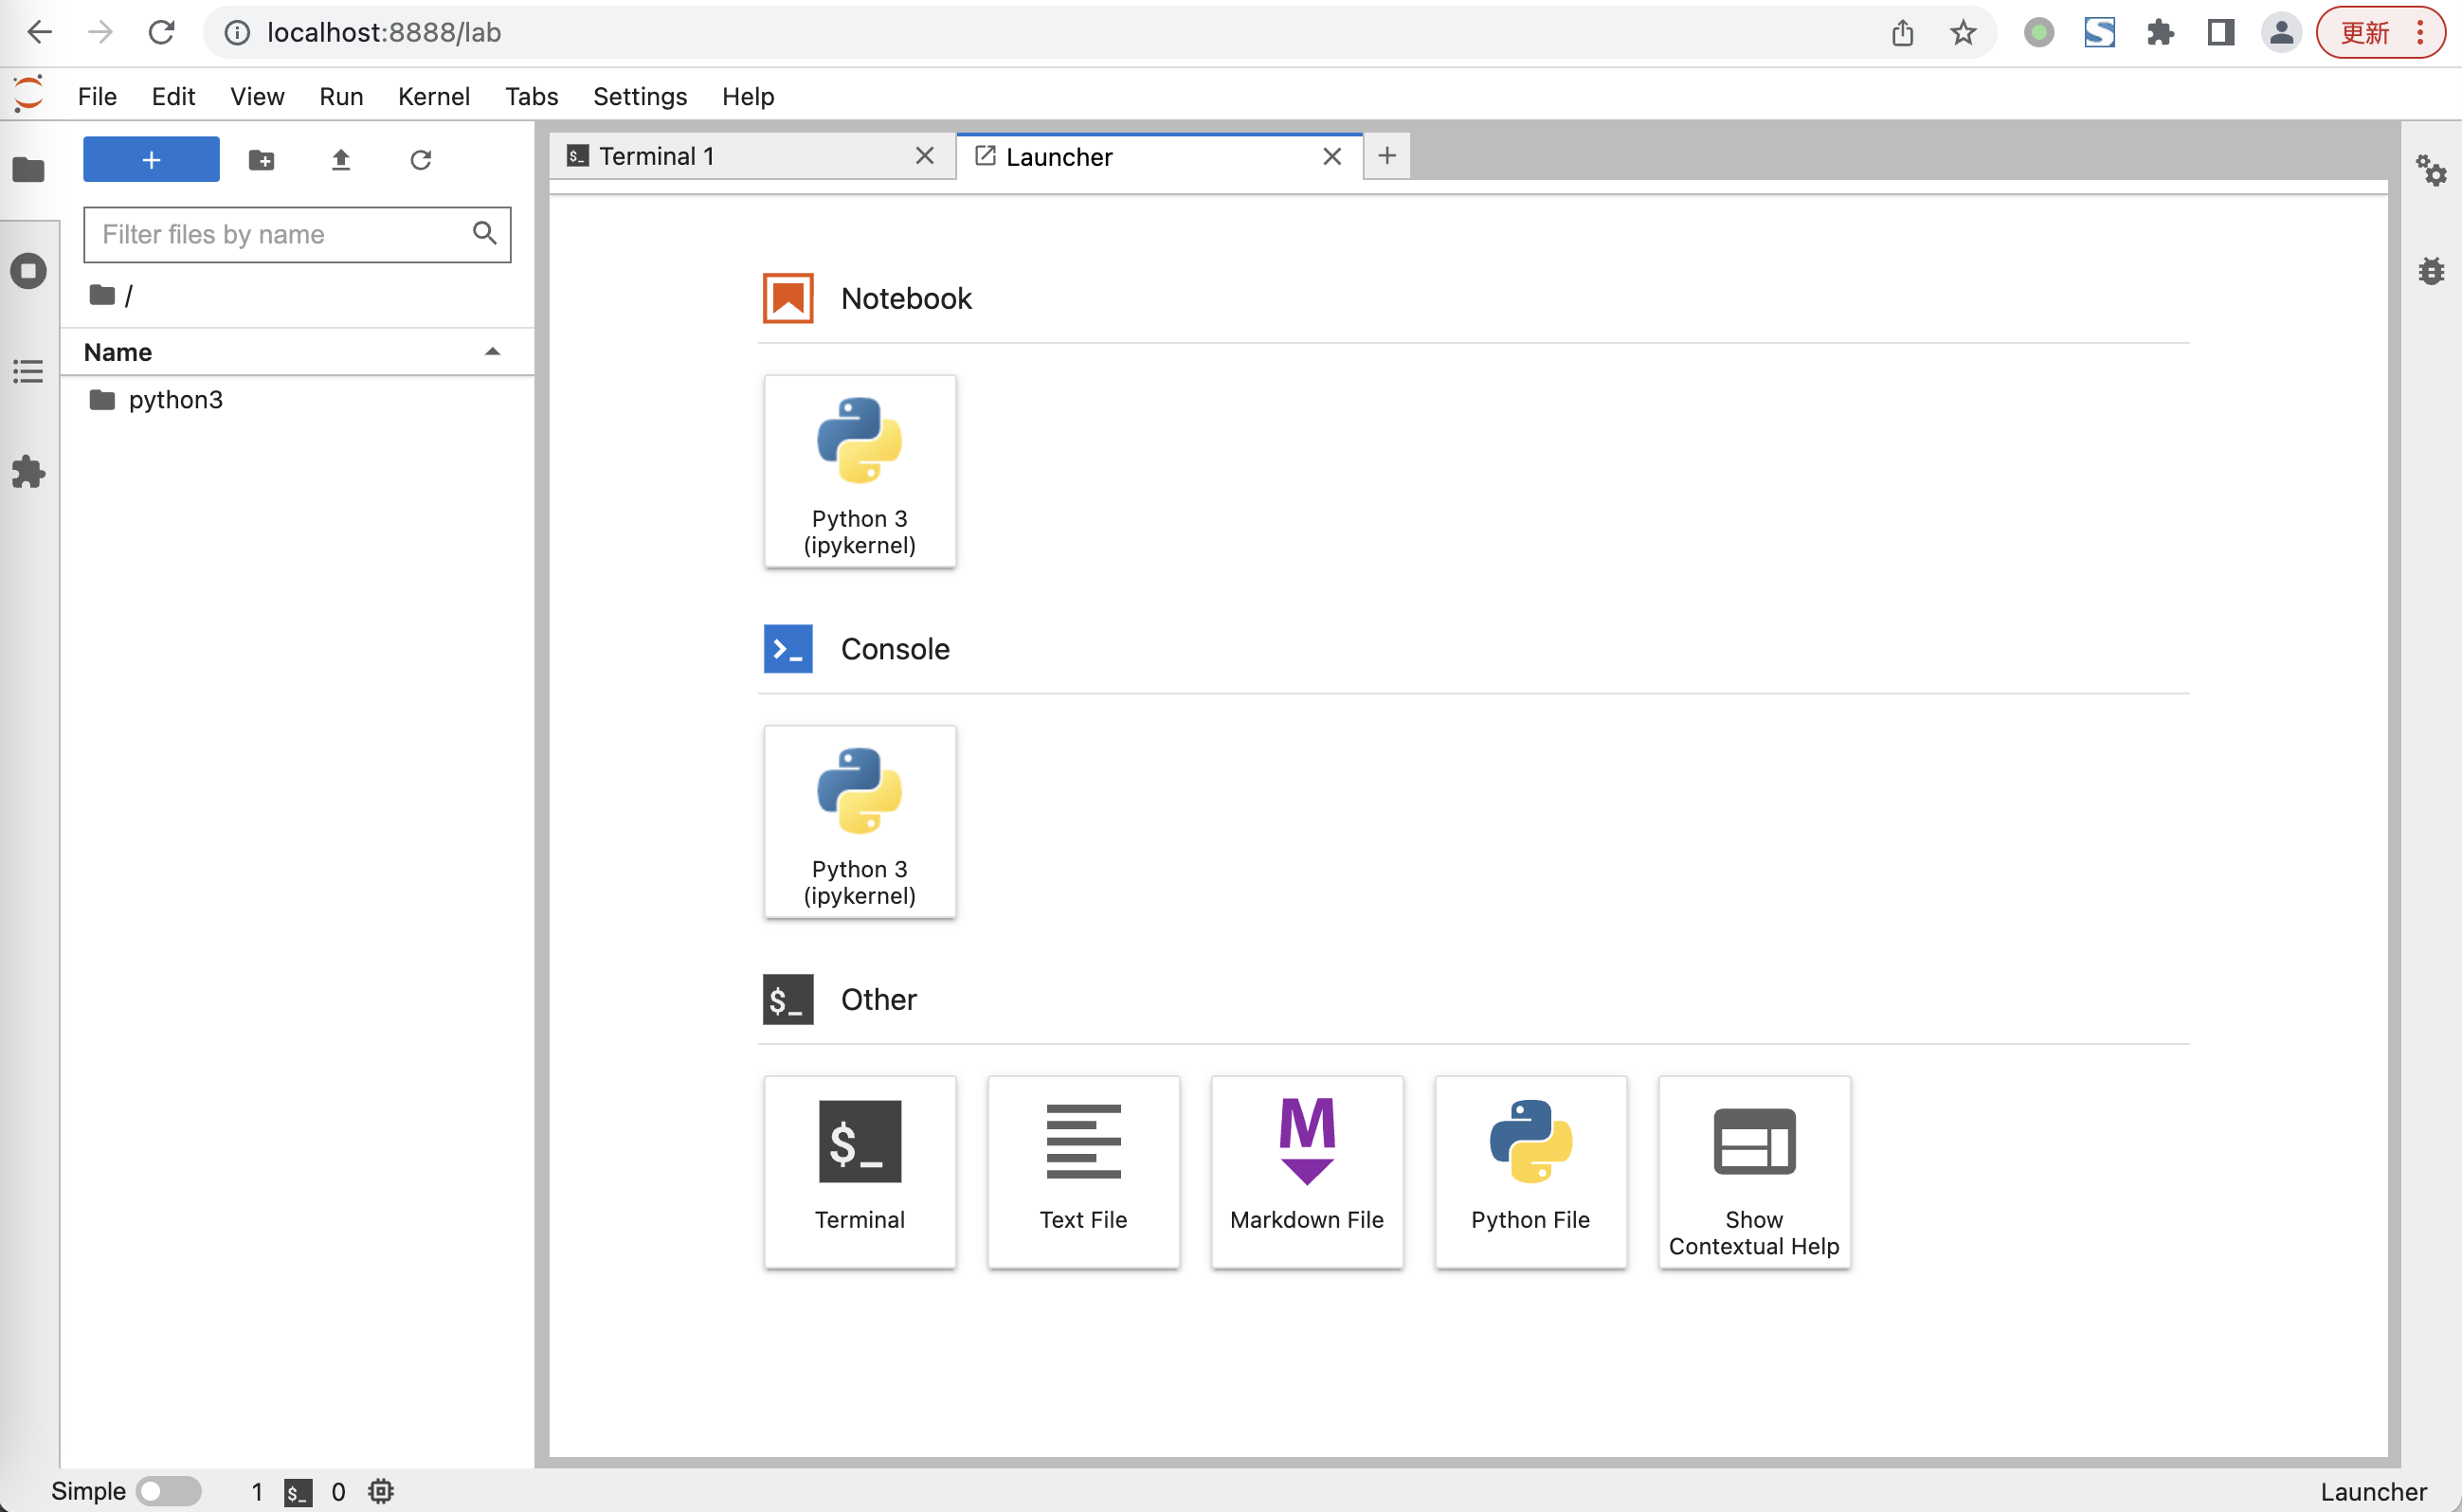
这时只有一个Python 3的图标,对应的是base环境的python 3.9
安装 python 3.8
<code class="language-bash"># 创建一个独立的py38环境
conda create -n py38 python=3.8
# 激活这个环境
conda activate py38
# 安装必须的包
pip install ipykernel</code>
这jupyter中加入 python 3.8
进入jupyter的kernels目录:
<code class="language-bash">cd /opt/homebrew/Caskroom/miniforge/base #刚刚获取的active env location路径
cd share/jupyter/kernels</code>
通过
1 | ls |
命令看看,只有一个python3
现在我们复制一下这个文件夹,叫做python3.8吧
<code class="language-bash">cp -r python3 python3.8
cd python3.8
touch env.sh
chmod +x env.sh</code>
编辑env.sh文件,内容如下,注意,conda activate后面就是你想要激活的环境
<code class="language-bash">#! /bin/sh

if [ -f ~/.zshrc ]; then
    source ~/.zshrc
fi
if [ -f ~/.bashrc ]; then
    source ~/.bashrc
fi
conda activate py38
python $@</code>
编辑kernel.json文件,把它改成这样,注意第3行的env.sh文件需要绝对路径,根据你的实际情况填写:
<code class="language-json">{
 "argv": [
  "/opt/homebrew/Caskroom/miniforge/base/share/jupyter/kernels/python3.8/env.sh",
  "-m",
  "ipykernel_launcher",
  "-f",
  "{connection_file}"
 ],
 "display_name": "Python 3.8",
 "language": "python",
 "metadata": {
  "debugger": true
 }
}</code>
刷新一下浏览器页面,就能看到我们添加的环境了

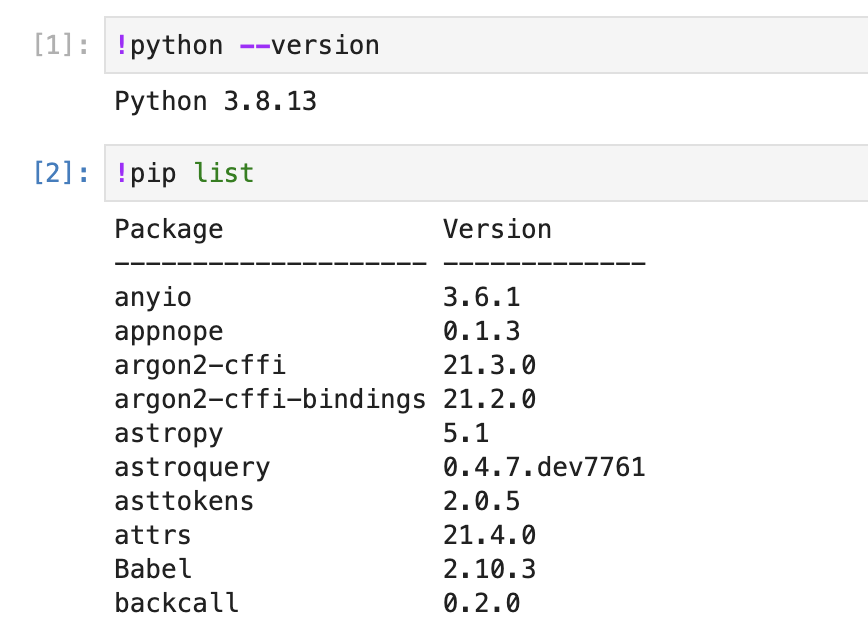
验证一下是否正确,新建一个使用Python 3.8的notebook,通过感叹号执行sh命令,看看python版本和pip包,如果都符合预期,就OK了